2012-02-28

Viking bag/tarsoly finished

Finally finished with the viking bag/tarsoly! Silk lined lid and inside with hand tanned reindeer leather edges. Brass plate fittings and strap end. Hope you like it!


2012-01-28

Finally finished with the sheath for the the photo contest knife! A big thank you to all who contributed and congratulations to Hampus Samuelsson for getting first price! I hope you all like it. 

Dark brown leather sheath with polished brass fittings, copper inlays and stamped pattern. Handle in ash with brass rivets, draw ring and brass bolsters. Polar blade (HRC 59 C-0,81 Mn-0,56 S-0,004 P-0,01 Si 0,35 V-0,161 Cr-0,54).


2011-12-19

Merry Yule!

God Jul, merry Christmas, happy Yuletide and a good end of the year to you all!

Enjoy the holiday, eat and drink well and give love to your families and friends. I hope 2012 will be as interesting and filled with fun projects as this year!
 

2011-12-03

Another small viking knife finshed

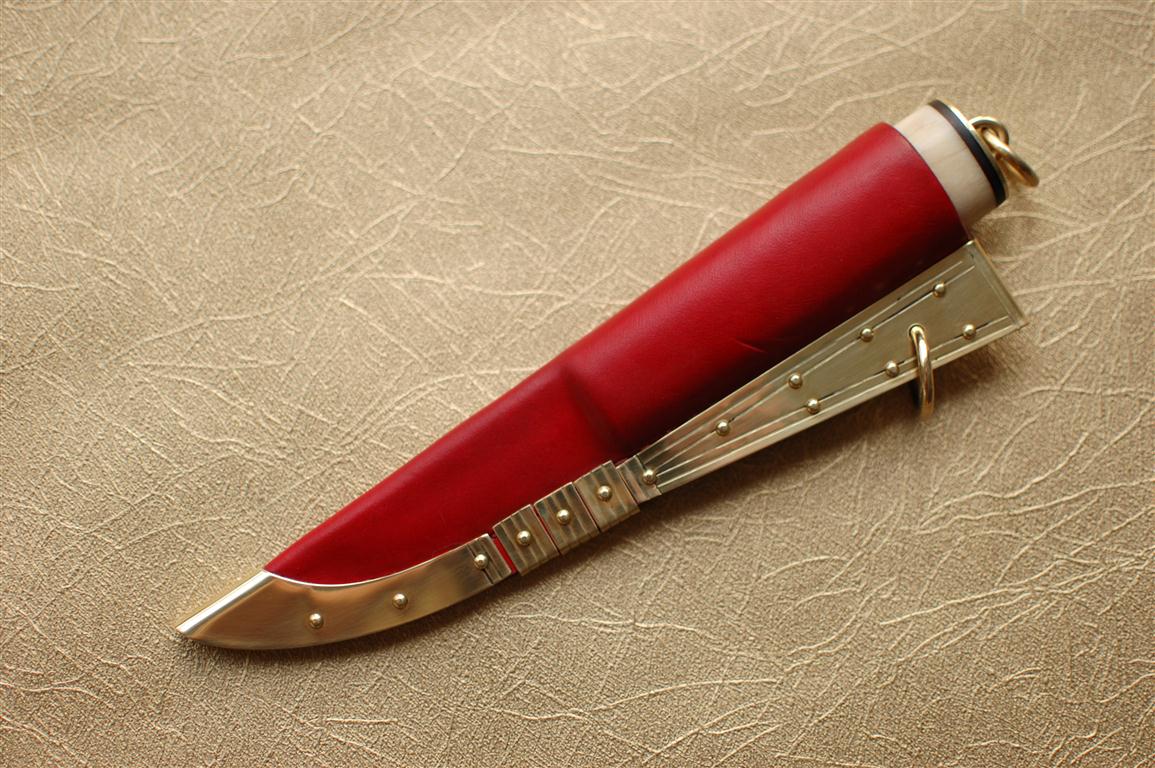
Just finished another smaller viking style knife with sheath. This one was a birthday present for a customers wife so I tried a couple of things to give it a simple but well finished look. Wet shaped leather sheath with brass and copper fittings, oak handle and brass bolsters. To get a suitable small blade I cut down a Mora Classic and finished the sides with a rotary steel brush. I liked the result so I will probably use this technique again.

2011-11-06

Two new knifes.

Two new knifes straight from the workbench!


The first one is a special order. Viking style sheath for a Bergo sailors knife. Brass fittings with tinned copper inlay, brass rivets. Leather is treated with a birch-tar leather dressing for a deep, rich luster.


The second one is a viking knife with sheath. Full-grain, vegetable-tanned leather. Brass fittings and rivets. Polished bog oak handle, elk horn and brass bolsters. Karesuando blade.
First price in a warrior tournament this fall (battle.elvegrimarne.se).


2011-11-03

Small viking women's knife

Small viking women's knife with sheath. Blade from Maihkel Eklund, handle is bog oak with brass hardware, 135 mm.


2011-10-26

Photo contest winner!

Thank you for all pictures! Winner this time is Hampus Samuelsson!

The winner was randomly selected with http://www.random.org/

2011-10-13

Photo contest!

Don´t forget our photo contest! Send in your best picture of you together with your Audhumbla-kit and you could get a free knife for the trouble!

Send you pictures to edvin.sjoberg@gmail.com

(or this baby with the lamellar belt gets the price!)
 

2011-09-08

Making knife sheath fittings, part 2.

Here is a short explanation how to make the smaller, grooved fittings. 1, First, cut strips from sheath. My fittings are about 10 mm wide and each strip is about 300 mm long.


2, I use a small chisel with a blunted edge to make the grooves. First I make the groove in the middle and then each side to get a symmetrical look. It is quite tricky to get a uniform and straight groove so take it slow and easy.


3, This is what it should look like after.


4, Now, take the piece of brass and some piping. The correct diameter of the pipe should be slightly smaller than the thickness of the leather sheath. Carefully bend the fittings downwards over the pipe using both thumbs and a firm grip. Look out so the edges line up correctly.


5, This is the finshed fitting. Now, it will be filed, polished, drilled and mounted on the leather.

2011-09-06

Looking for pictures of you!

I am looking for pictures of you together with your kit from Audhumbla! If you got it, flaunt it! Send the picture to me and I will choose the best ones.

To make things more interesting, I will draw a random winner from the contributions that will get a free knife (bog oak, elk horn and karesuando blade).

Making knife sheath fittings.

I said I would try to explain how I make my fittings for the sheaths. Here is a couple of pictures explaining the method. I am sorry for the quality, they were taken with a cellphone.

First, the chape:

1, I start out with a paper template and sketch out the rough shape of the chape on the leather sheath.


2, Then I put the paper template on a brass plate and transfer the shape.


3, I use different tools to make all the stamped patterns.


4, To make the rough cut I use a small chisel and carefully strike down on a piece of old railroad track.


5, This is how the piece looks after the rough cut.


6, To cut the outer shape I use a hand held pair of straight-cutting snips.


7, After this it´s time to bend the chape around a metal pipe to give it it´s shape.


8, Then it´s time to get going with sandpaper, files and some elbow grease to smooth all the edges and get rid of burrs. This will take some time.


9, The final stage is to give the chape a high gloss polish.


10, And the final fitting on the leather sheath riveted in place. The leather will be cut after to insure a perfect fit.


I hope this is helpful! I also have some pictures of how to make the smaller fittings if you are interested!